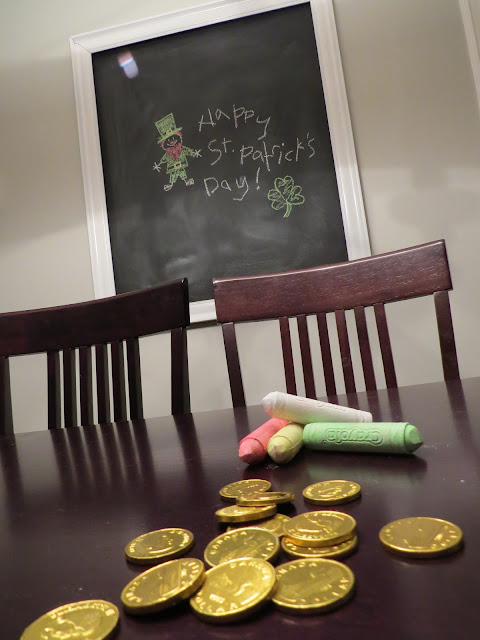
When we bought our house, one of the first things I wanted to do was to make a large chalkboard for the weekly menu on one of the kitchen walls. We've owned this house for 2 1/2 years, and we recently got around to doing it!
It ended up being just about free. Can't go wrong there!
You need:
- Picture frame in the size you want your chalkboard to be (I had a huge framed print that fell off the wall when we first lived here. The glass broke but I kept it anyways. I stripped everything away and used the frame for this project!) So since I had a frame already, 0$
- Spray paint, Optional. If you want the frame you choose to be a different color. I wanted it to be white. The paint was like 3$
- Chalkboard paint. My Mum lent me her can.. 0$!
- Mini foam roller (We have a stockpile!) 0$
- Chalk (We have 3 kids..therefore we have an abundance of chalk) 0$
- Nails to hang your frame
 |
| Before paint. |
 |
| 1st coat! |
I decided where exactly I wanted the chalkboard and hung the frame up in the right spot. Using a pencil, I traced the inside of the frame (about 1/2" past the inside edge).
Using a mini foam roller, roll on your chalkboard paint! I did 4 coats, waiting at least an hour between coats. The first and second looked bad..Really streaky. Also a weird blue color when wet.
 | ||||
| Wall color and chalkboard paint all done! |
Definitely let the chalkboard paint cure for the 3 days or whatever it says on the can! It's worth it. You don't want to ruin your hard work! Once the chalkboard part was done, I hung my frame over it!


No comments:
Post a Comment